Are you hosting friends or family for Easter? Do you want to set a gorgeous—but quick and easy—table that is sure to impress? Look no further! It is simpler than you might think to create a beautiful and professional looking table setting.
Today, I’m sharing some of my tried and true tips for setting a table. My own Easter table took me ten minutes to put together and cost me nothing!
Tip 1: Layer, Layer, Layer!
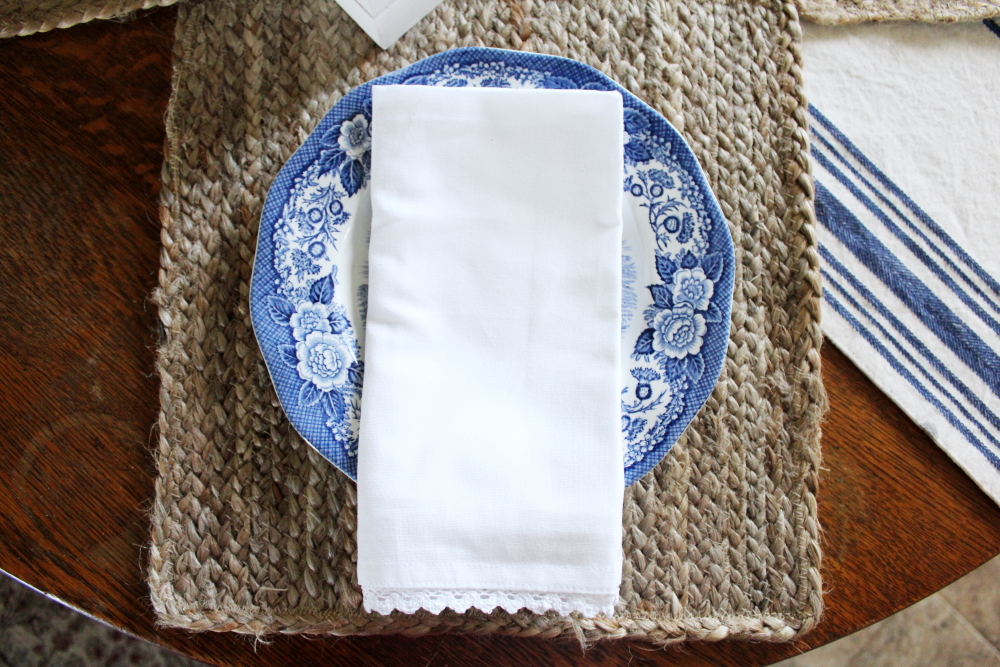
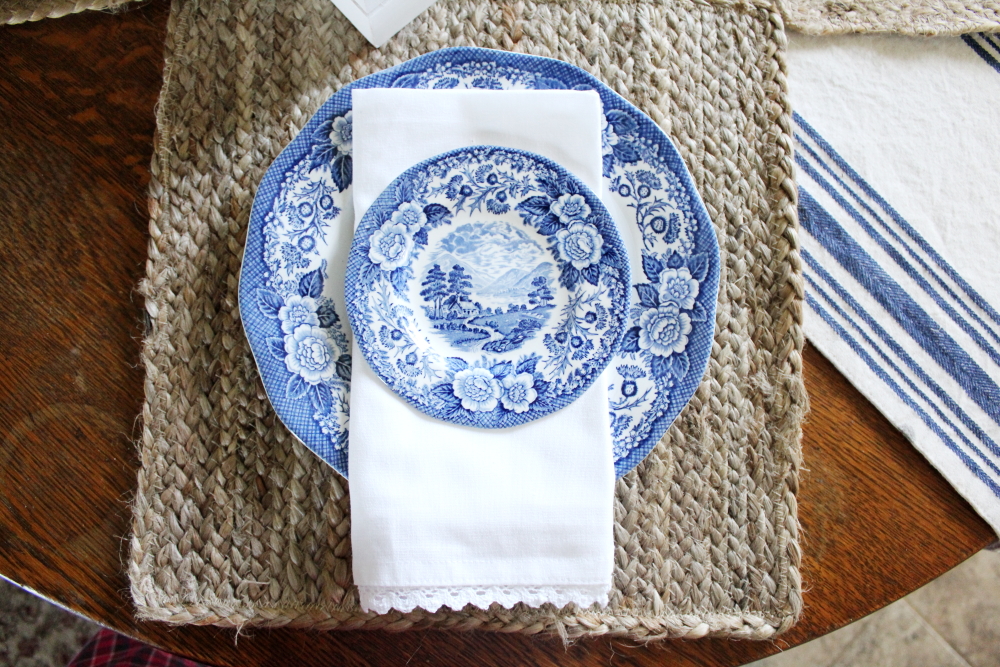
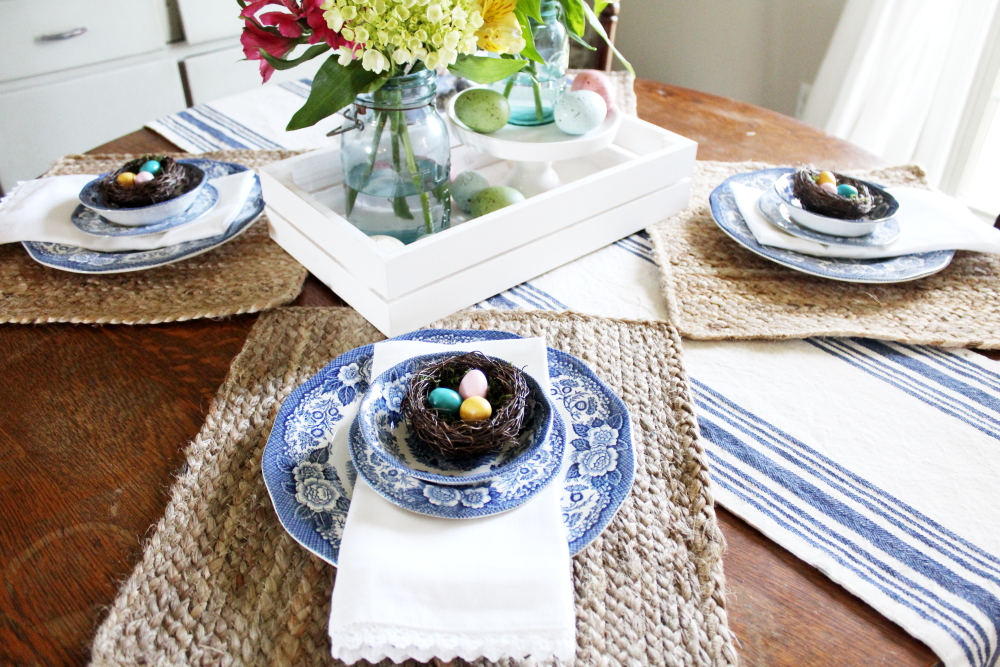
Adding several layers to your table setting creates visual interest. This allows you to use simple pieces but have them still be impactful and look sophisticated. Next time you get that Pottery Barn magazine in the mail? Take a gander at their set tables—lots of layers! Here’s my easy and fool proof method for perfectly layering a table setting:
Placemat, charger and/or largest plate.
Folded napkin.
Smaller plate.
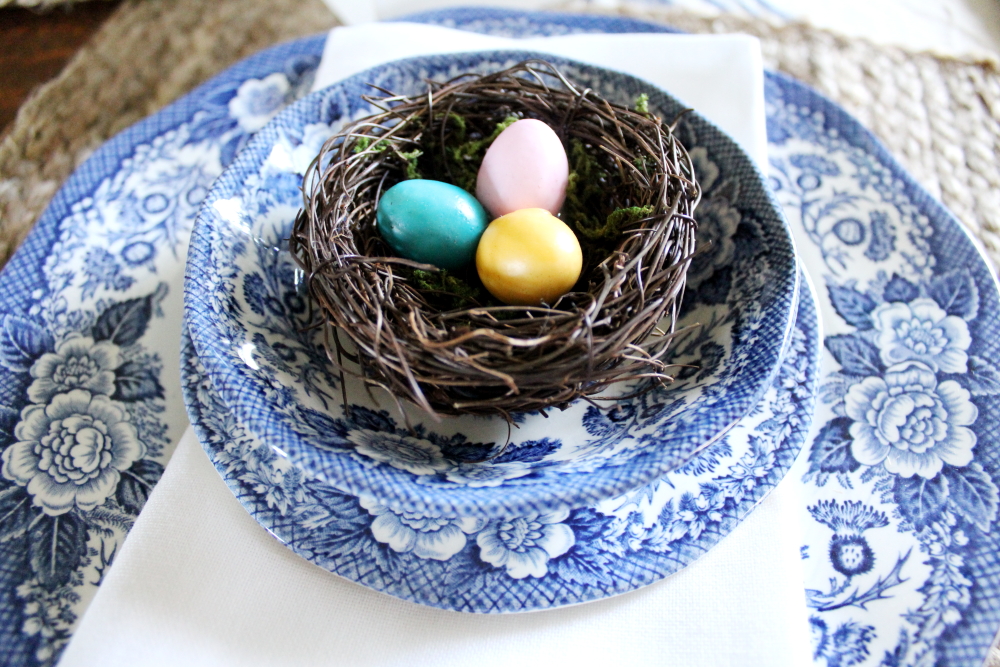
Topper. And done!
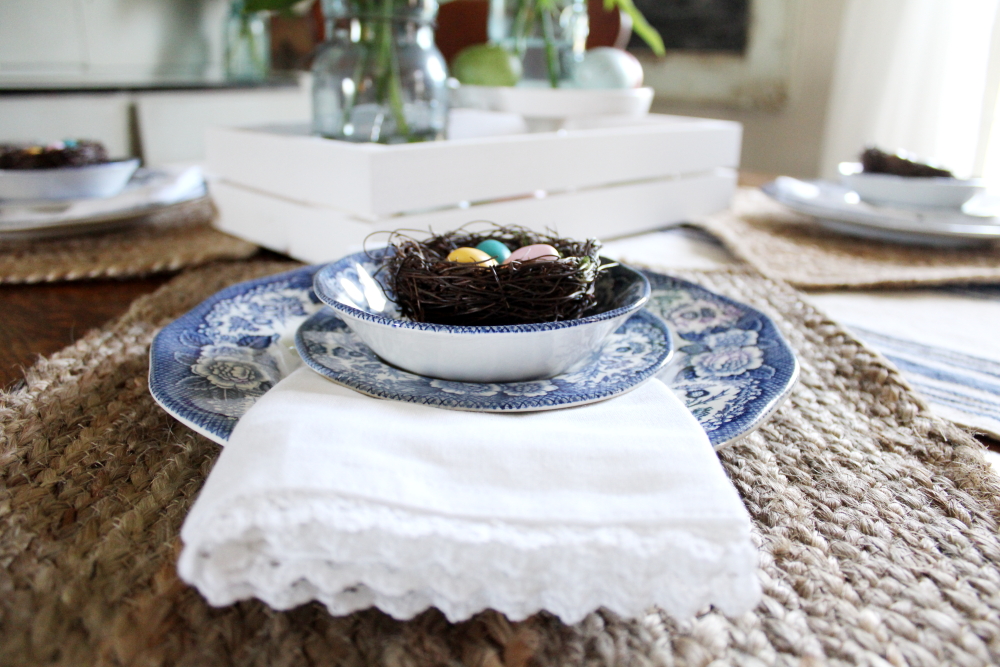
In this case, I didn’t use a charger and I used a berry bowl with a premade nest as a topper.
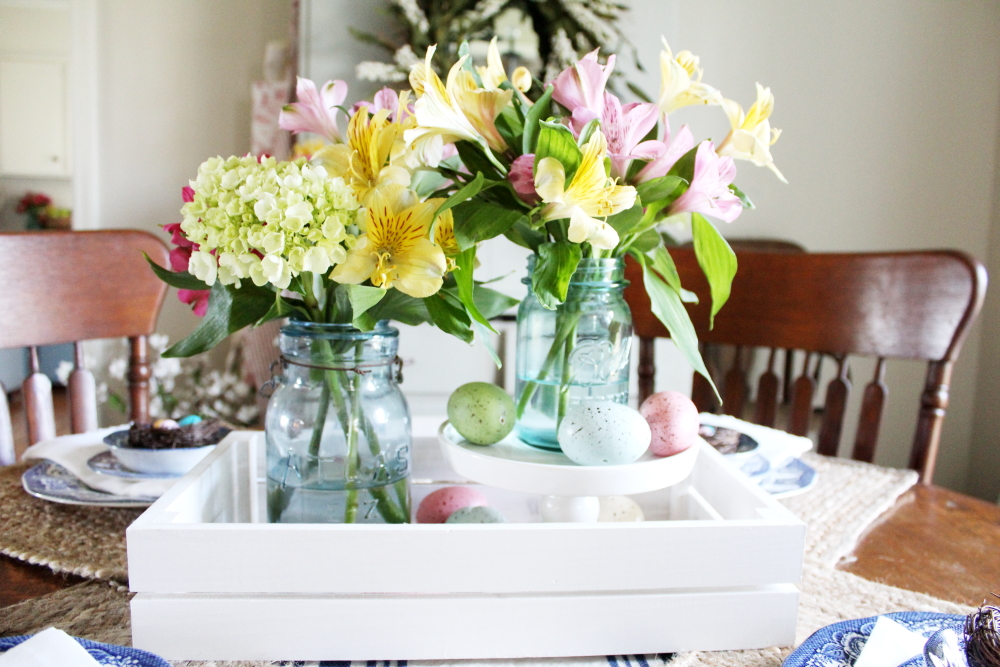
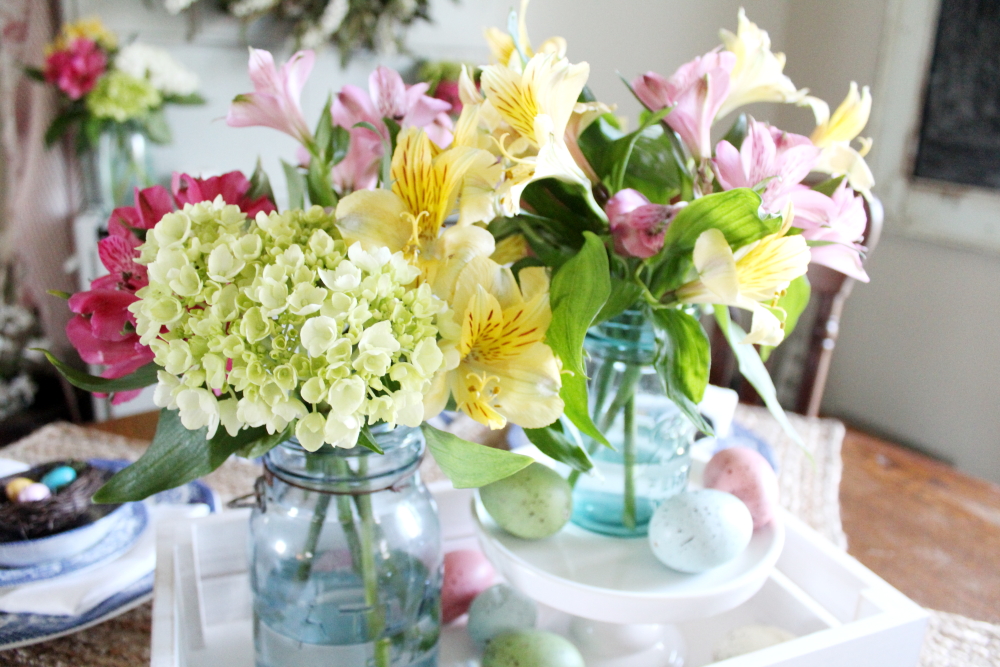
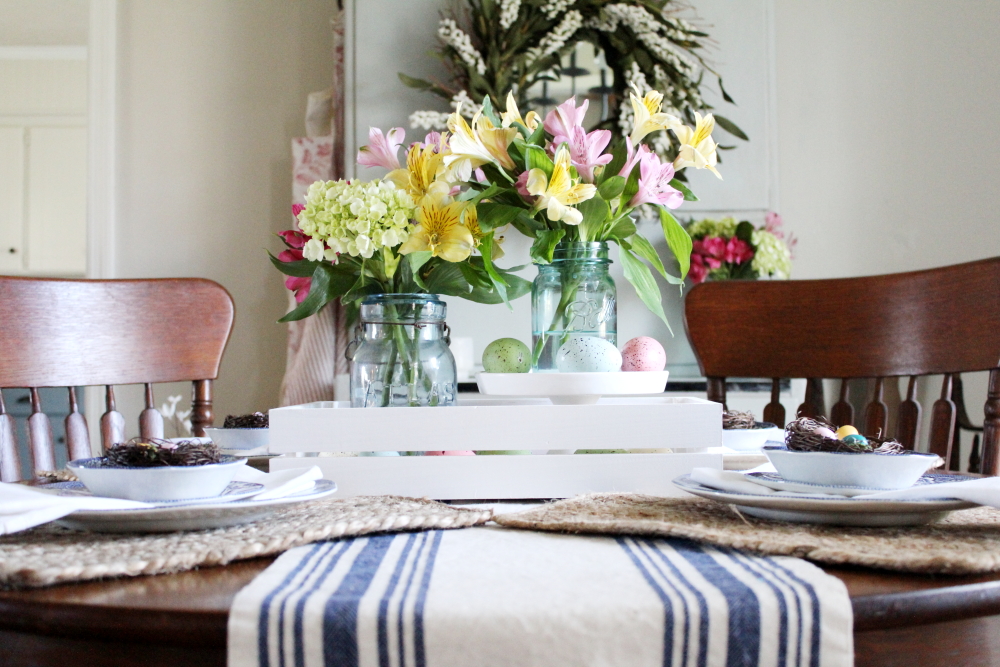
Layering also creates a simple but impactful centerpiece. The crate works as a base to ground everything and then the layers of flowers and colorful eggs catch your eye.
Tip 2: Breakout your pretty plates—or don’t!
I found this set of Lochs of Scotland china at a local thrift shop, and I love using it every chance I get. You don’t have any “special” dishes? Never fear! I also enjoy using my everyday plates for table settings and sometimes mixing them both together. Things don’t have to be fancy or perfect to be beautiful!
Tip 3: Use what you have on hand!
Everything I used to set my Easter table, I already had at our house. The table linens, placemats, and dishes are staples in my table settings and have been used more times than I can count. That small white cake stand, from Target’s dollar spot, has already seen many events and parties. Those blue mason jars? Part of a much larger collection that get daily use—especially during Spring and Summer.
The only newer items I included were the white crate (also from Target’s dollar spot) and the small bird’s nests and faux colored eggs (both from Hobby Lobby). All three things were being used in other areas of our homes, but I “shopped” our house and decided they would make great additions to my Easter table.
Tip 4: You can’t go wrong with flowers!
During Spring and Summer, I keep our house filled with fresh flowers.
I grab a few bouquets every time I buy groceries and just rotate out the dead or dying stems with fresh, new ones. It adds so much cheer to our house for very little cost, and it makes creating a beautiful centerpiece effortless! My favorites to buy are alstromeria. They come in a variety of colors, last for weeks, and best yet? They only cost $4 for a bouquet of 6 stems at my local Kroger. I already had all of the flowers arranged in mason jars and placed around our house. I moved two—one big and one smaller arrangement—from their previous homes and had an instant centerpiece for our Easter table!
Tip 5: Vary heights!
This one relates back to tip #1 a bit. Varying the height of items on your table helps create more visual interest—which is also true for layering.
I included the berry bowl in my place setting so that when you looked at the table, it wouldn’t look so flat.
The same goes for adding in the cake stand. It created more height for the centerpiece which made it visually more interesting and dramatic. Just be sure to keep your height variations reasonable. You want your guests to still be able to see each other and carry conversations!


