


Five Dollars, Five Ways is a series that explores a variety of activities for your kiddos based on a trip to the dollar store with a five dollar budget. We show you how to maximize a few bucks for hours of fun and entertainment!
When I saw these rainbow craft sticks at my local dollar store, I immediately fell in love with them. What’s not to like? They’re bright, they’re bold, and you get 100 for $1!

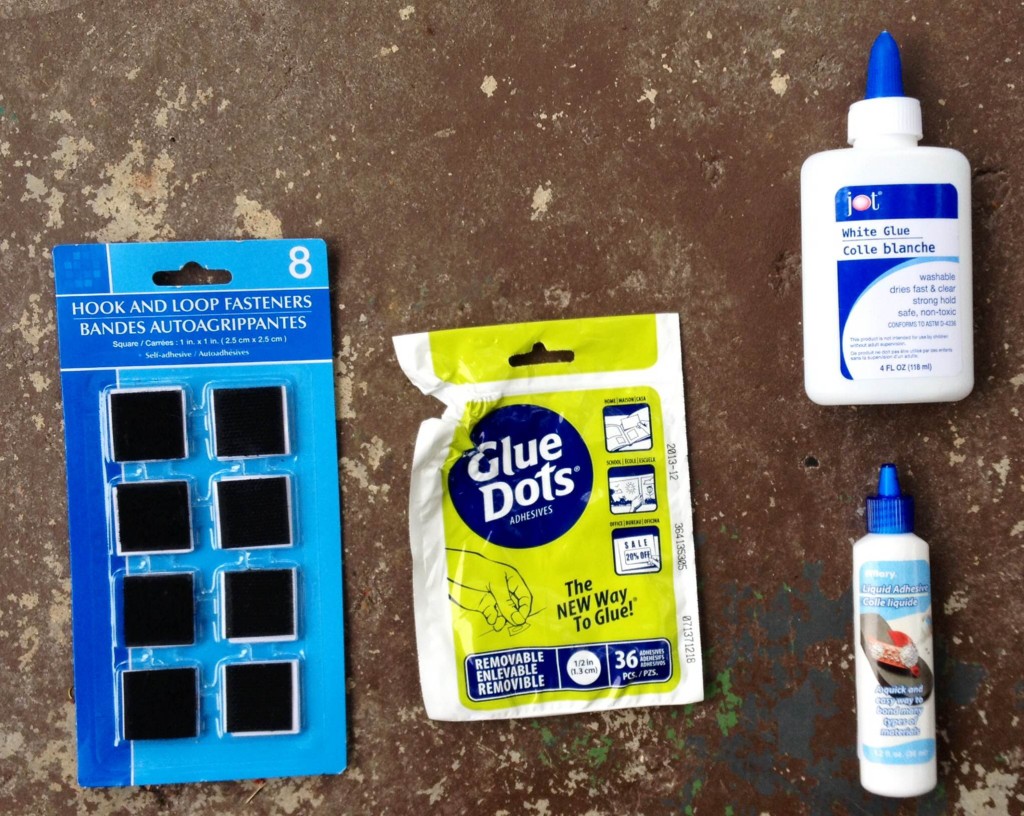
I also picked up hook and loop fasteners (i.e. velcro), glue dots (excuse the crinkly package—I started to open it before taking the picture), white glue, and liquid adhesive. With our $5 budget you might not want to get every one of these options. Maybe try two packs of craft sticks and three packs of hook and loop fasteners. Or perhaps one pack of craft sticks and four packs of glue dots is more your speed. Use your $5 however you want! We won’t tell.
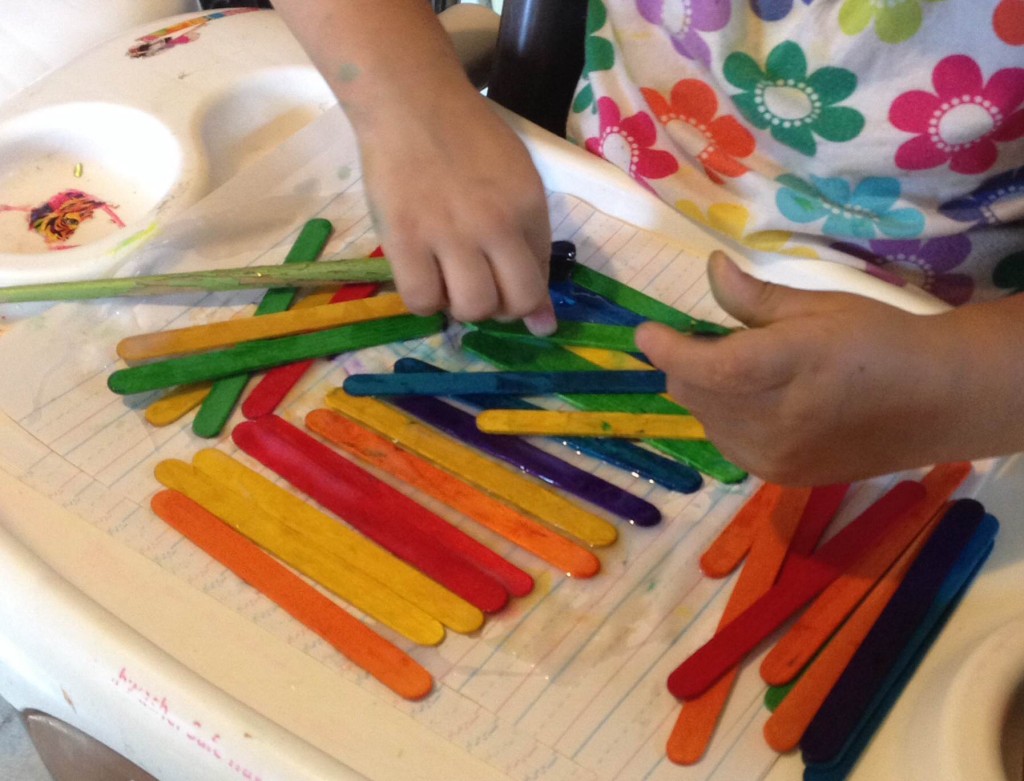
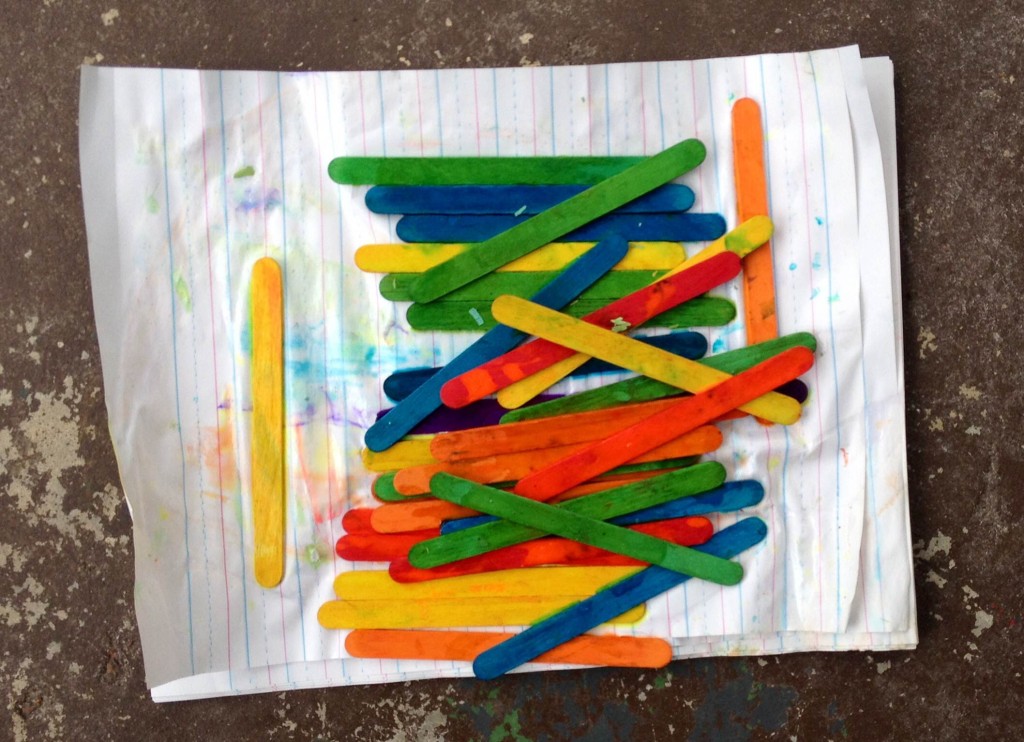
Activity 1: Collages
I gave my (almost) three-year-old a cup with glue, a paintbrush, paper, and the rainbow craft sticks. She worked hard and created this collage. Consider adding pom poms, scraps of colored paper, sequins, glitter, or buttons—get creative! This activity would be really fun with older children as well.
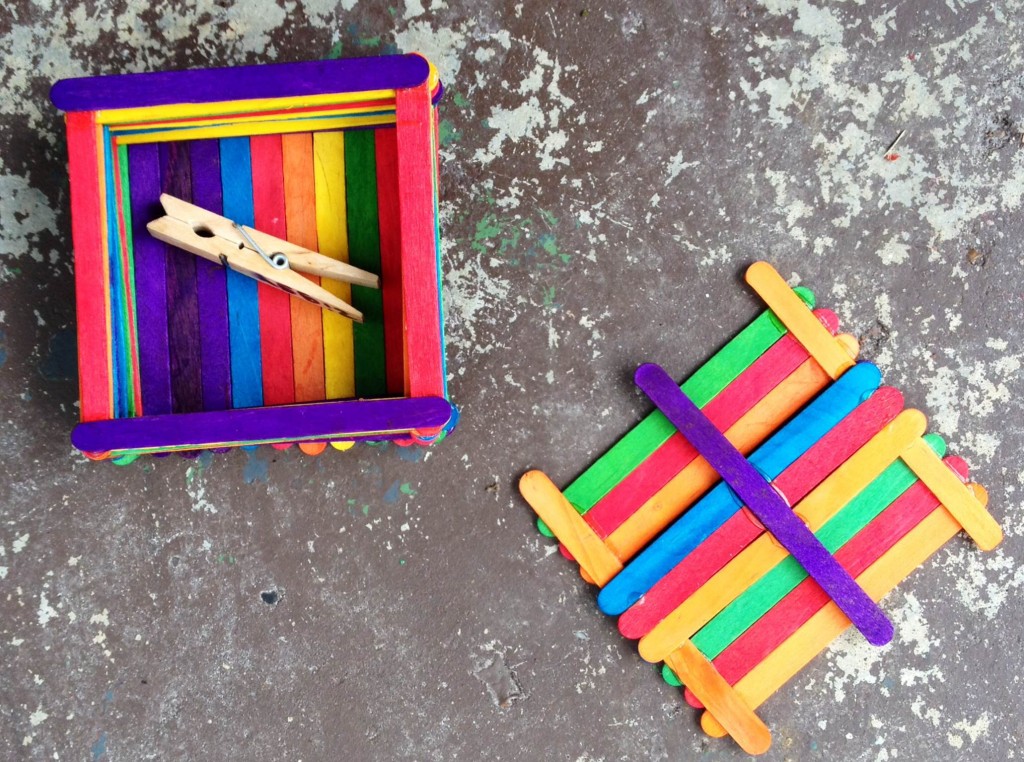
Activity 2: Building
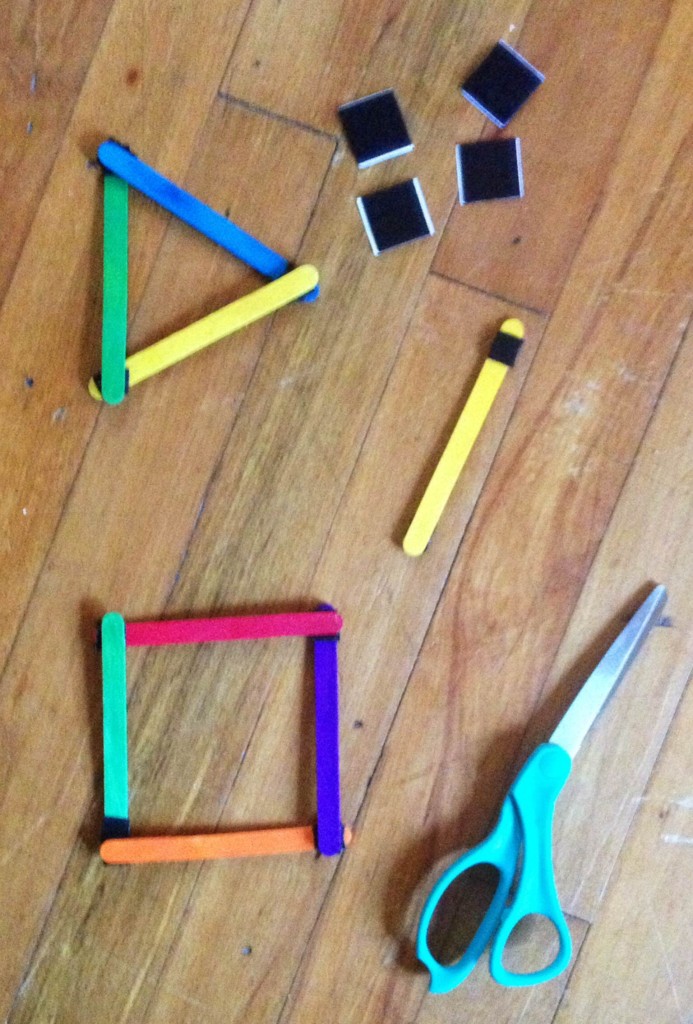
My six-year-old and I worked together to make this box and lid. (He wanted to keep this clothespin from school in the box.) We glued sticks at the corners in a square shape. We then continued alternating parallel sticks for the sides as we built up the height of the box. You could also try a box in a triangle shape or a rectangle shape. Free form building is another possibility. Just give your kids glue and sticks and see what happens. Glue dots also work really well for this activity.
Activity 3: Constructing Shapes
I cut each hook and loop fastener square into four equal, smaller squares. I placed one small square of loops on to the end of a craft stick. Then I placed one small square of hooks on the opposite end and opposite side of the same craft stick. I did this for as many sticks as I had fasteners. Let the construction of shapes begin! (This activity can also be done with glue, but the shapes will remain permanent.)
Activity 4: Math Challenge
Tell your child, “Give me one red stick,” or, “Hand me four sticks.” Depending on your child’s age, you can ask progressively more challenging questions using colors, numbers, and shapes. You could also create task cards with either picture cues or words (if your child is reading).
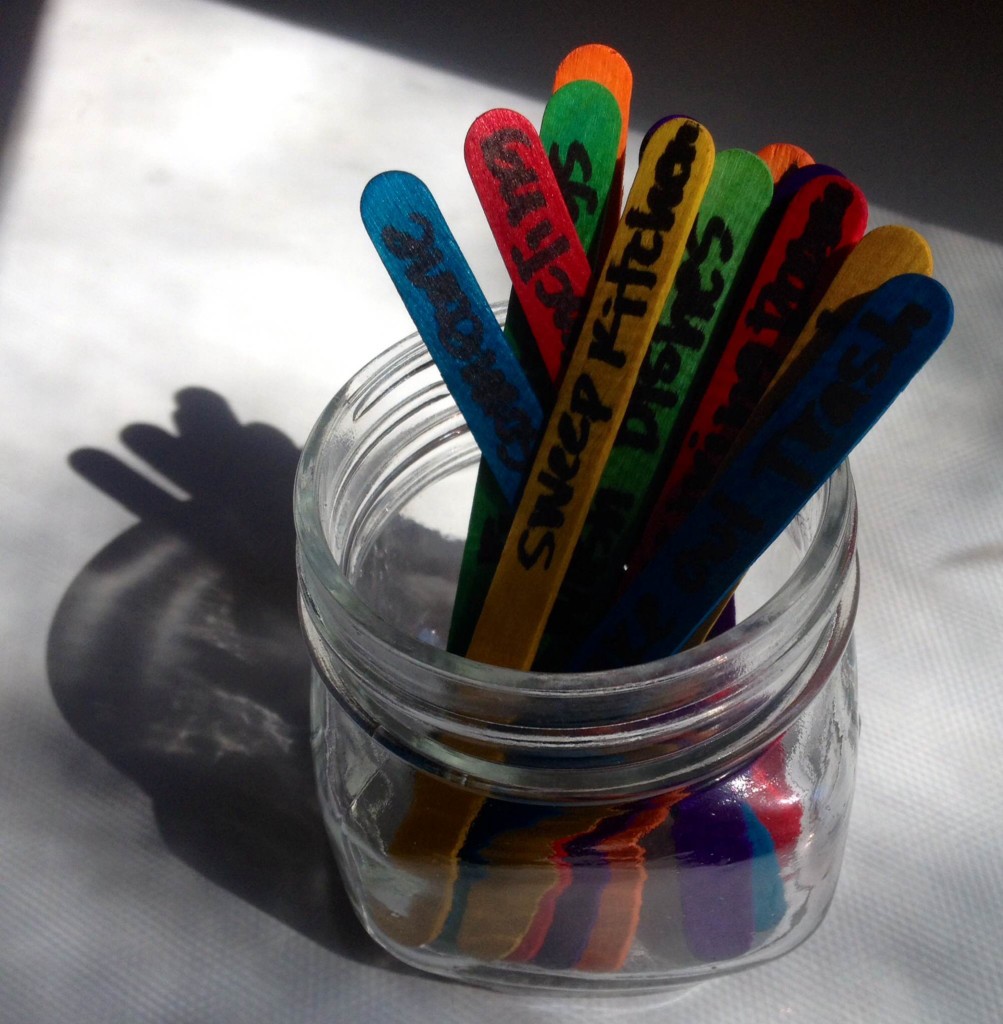
Activity 5: Chore/Activity Jar
Using a permanent marker, write a household chore, job, or act of kindness on five to twenty sticks (depending on child’s age, number of children, etc.). Place sticks in a jar, and encourage your child to grab one whenever they want money, ask for time on electronic devices, or have the nerve to say “I’m bored.” You can use the different colors in to differentiate between activities in a number of ways: a different color stick for each child, a different color for the difficulty of the task, or for the amount of money/electronic time that will be earned. (Tip: Use a permanent marker with an ultra fine tip. I used a fine tip permanent marker and felt my writing was squashed.)
Check back next week for more $5 dollar store activities!


I really like the idea of constructing shapes with the sticks. I bet my daughter would connect them length to length which would be a great lesson in balance.
You will have to let me know if she does connect them length to length. 🙂
Thanks for reading Nashville Moms Blog!