


Recently, my 3-year-old wanted to spend the day making Christmas crafts. This was not a problem for me as I love crafting. So I dutifully scrolled through Pinterest, looking for kid-friendly fare. I passed pipe-cleaner candy canes and handprint snowmen—and then I saw it. A pin for making your own snow globe. The following internal conversation ensued:
Frugal Me: “DIY snow globes?! You know you can buy a snow globe at Dollar Tree that’s already made.”
Crafty Me: “Oh, no, no. That would be far too easy (and inexpensive). I want to find a way to make this cost $40!”
So, of course, Crafty Me won that debate. DIY Snow globes were going to happen.
What you will need:
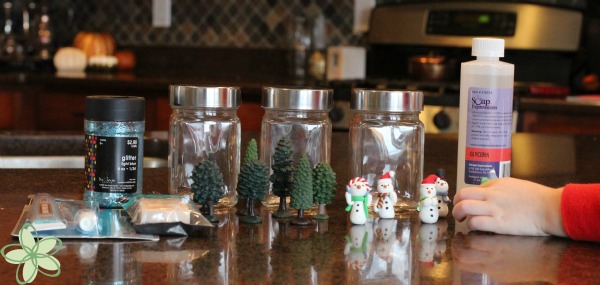
- Jar of your choosing
- Epoxy (or a water proof glue)
- Glitter
- Glycerin (to help the glitter fall more slowly)
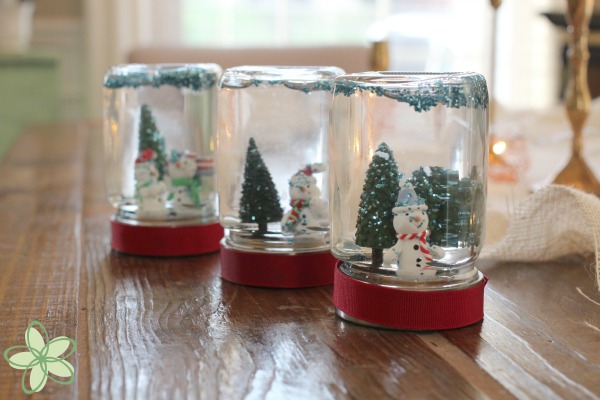
- Small figurines to go inside the globe (I found mine at Hobby Lobby in the miniature Christmas tree section)
- If needed: Small wooden blocks in case you need the figures to sit higher
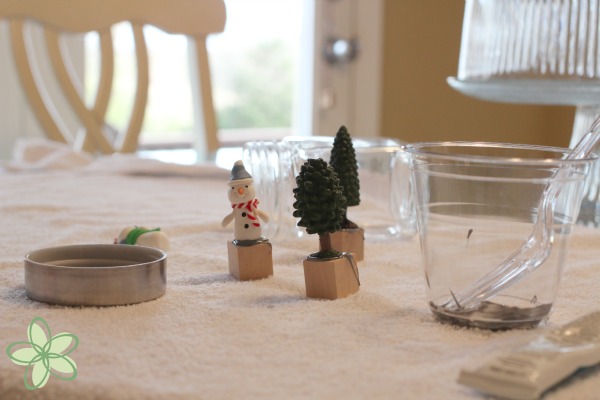
Step 1:
Decide where you want everything to go. Take care to ensure that your jar will fit over your figures before you glue them down!

Step 2:
If using wooden blocks (like I did), use the epoxy to glue your figures to the blocks. Allow to mostly dry.
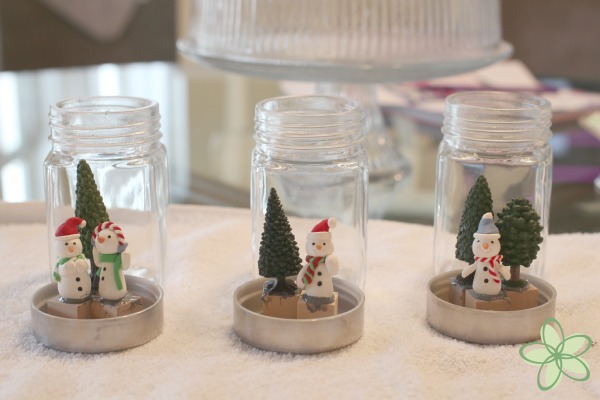
Step 3:
Once that glue has dried enough that you can handle the figures without risking your careful positioning, glue them to the inside of the lids. If you’re using a square jar like I did, before the glue dries, screw the lids on so you can see the orientation of the figures. Adjust accordingly. Allow the glue to completely dry.
Step 4:
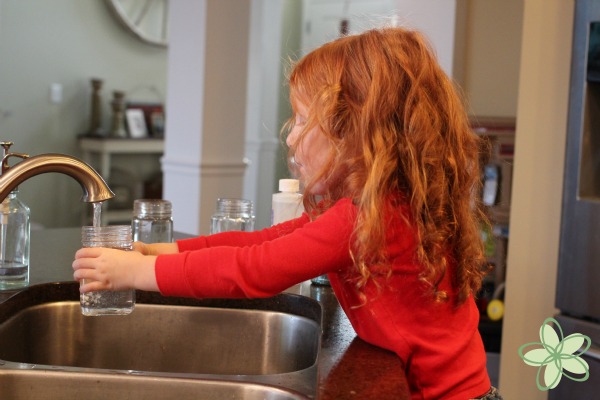
While you wait for the glue to dry, have your little one prep the jars. Add water, 4-6 drops of glycerin, and finally—the glitter! Because of the glycerin, the glitter will initially sit on the surface of the water, but it will settle after some good shaking—I promise. (And you know your kiddo will love the shaking, right?)
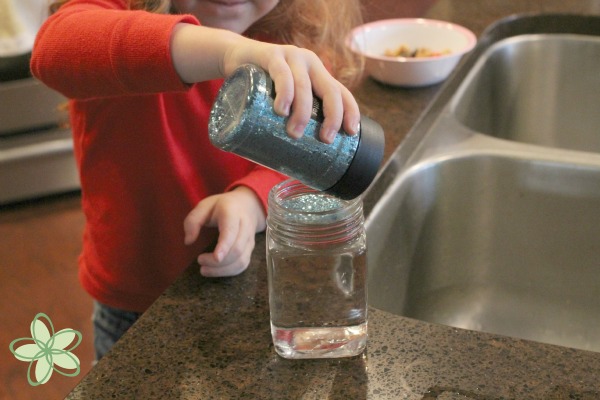
Step 5:
After everything has dried, screw the lid onto the jar. Make sure you don’t have so much water in the jar that the contents overflow. I once had a friend describe glitter as “The STD of craft supplies” because it gets everywhere, and it’s near impossible to get rid of. That definitely applies here.
Tip:
Apply some epoxy to the inside of the lid or the rim of the jar before twisting it on. It will help to prevent leaks.
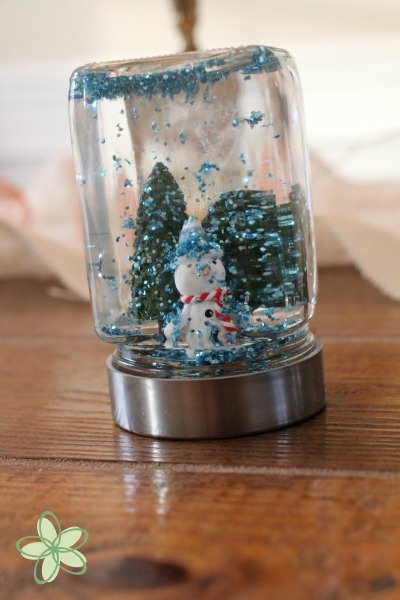
Step 6:
If you have the right kind of glue, add some ribbon to the lid.
Step 8:
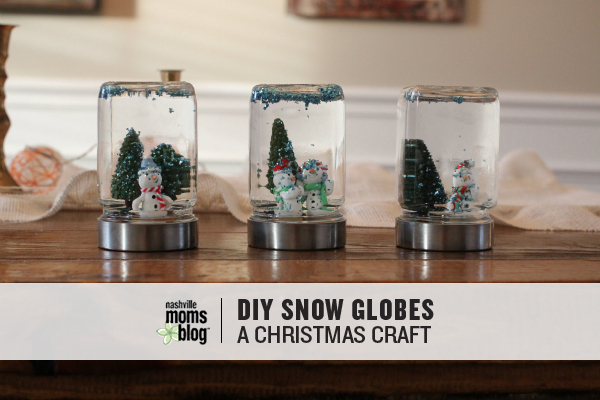
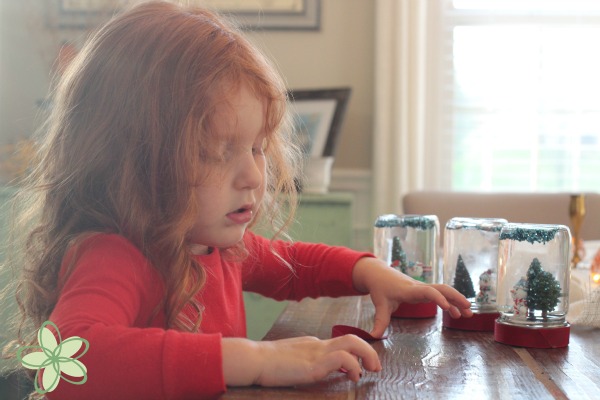
DONE! Y’all. These were really fun to make! We gave two away as gifts and kept one for ourselves. As far as successful crafting goes, this one is at the top of the list. Have fun, and have a Merry Christmas!


")


 easy holiday craft—and can make a great gift!)
After reading the details on how my Special Limited Addition Snow Globe was made by little Maddie (and you), I will cherish it even more. I am so glad and honored to have been chosen to receive such a precious gift.
Thanks again,
Papa