


Last week, in our monthly Notable in Nashville non-profit spotlight, Torrey filled us all in on the local wonder that is smART! (scrap made ART supplies). This week, Elissa is highlighting two crafts that she created very inexpensively from her own shopping trip to smART! Read on to be inspired. Perhaps you’d like to head over to smART! and experiment with some crafting of your own?

SmArt! is extremely well organized. It was such a pleasure to browse and check out everything. They had seasonal/holiday items, old cafeteria trays, fabric, stamping supplies, tiles, scrapbook supplies—you name it!
Project 1: Gold Tin and Rainbow Caps
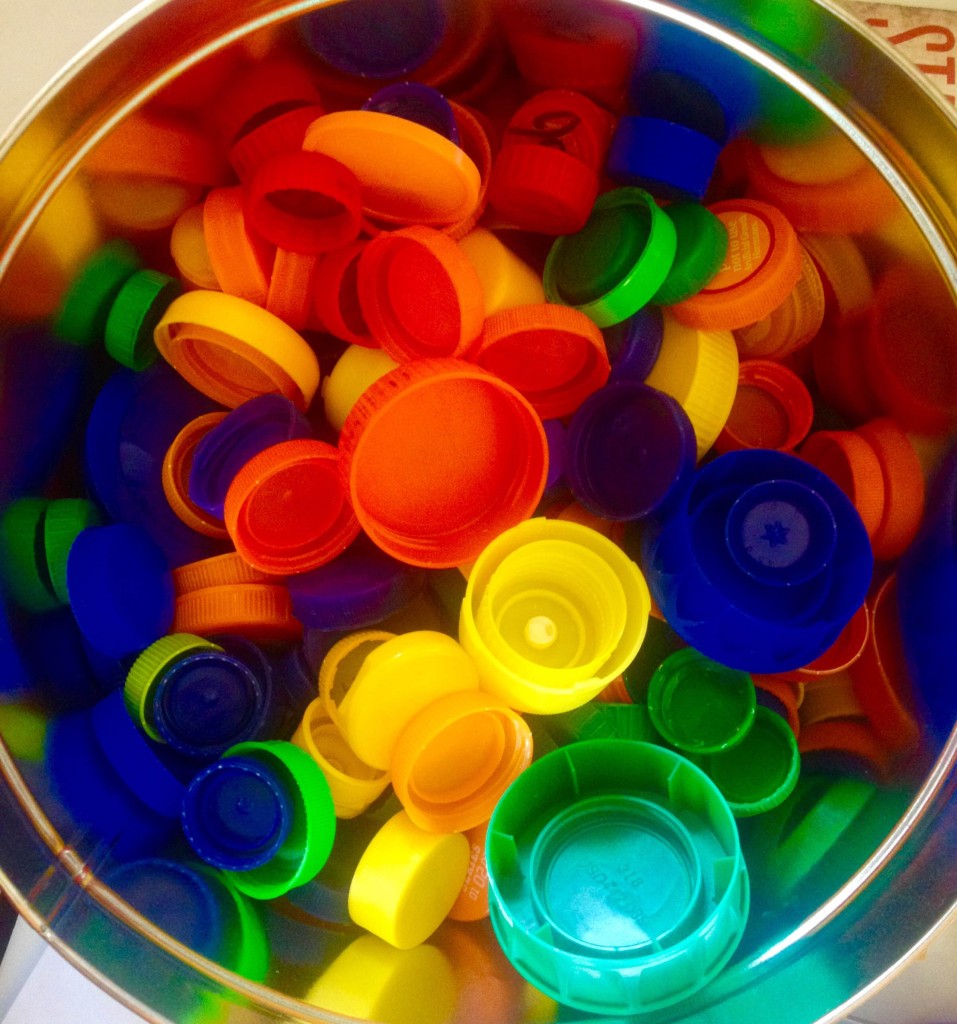
The first thing that caught my eye (and, honestly, made me squeal!) was assorted bottle caps packaged by color.
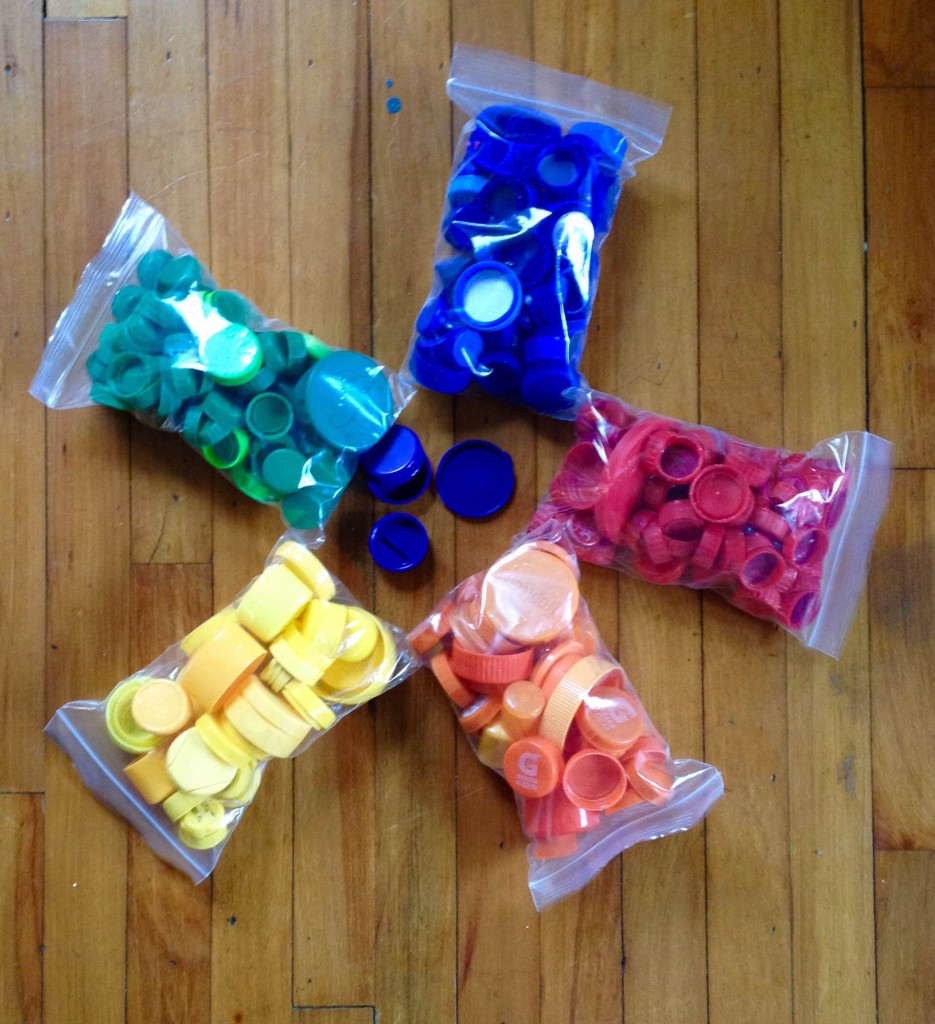
I love rainbows, and I love repurposing. All the work of collecting and sorting by color had been done for me. The bags were stuffed! My first thought was a sorting activity for my kids, but I decided I wanted to make something instead with the caps and lids.
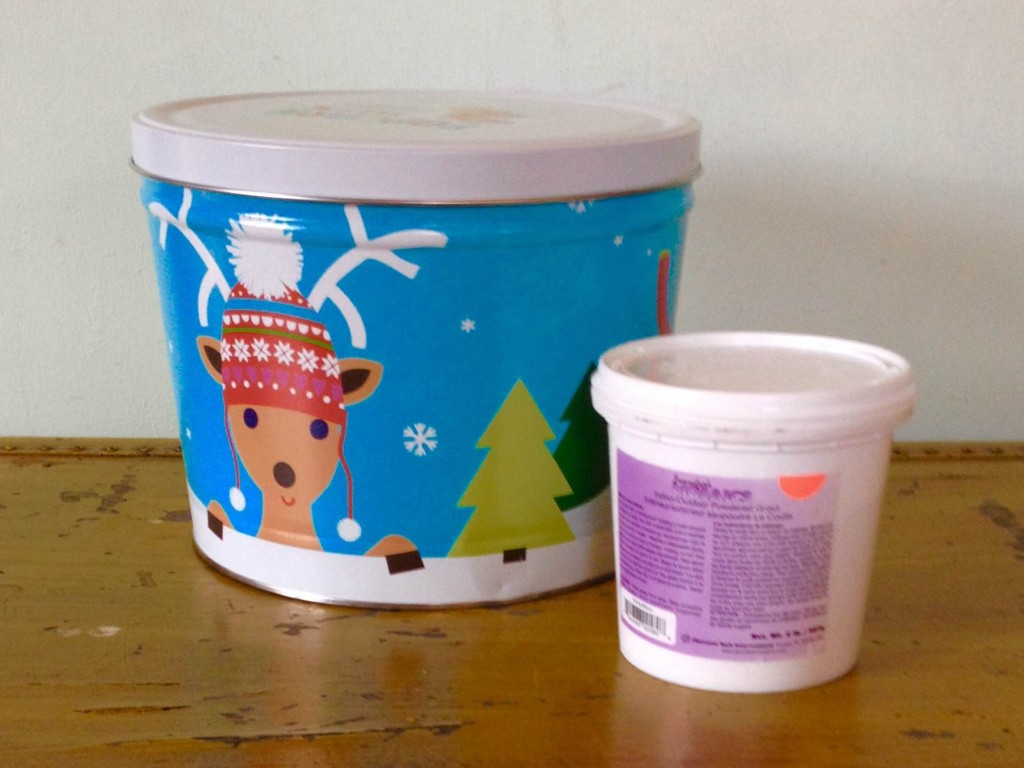
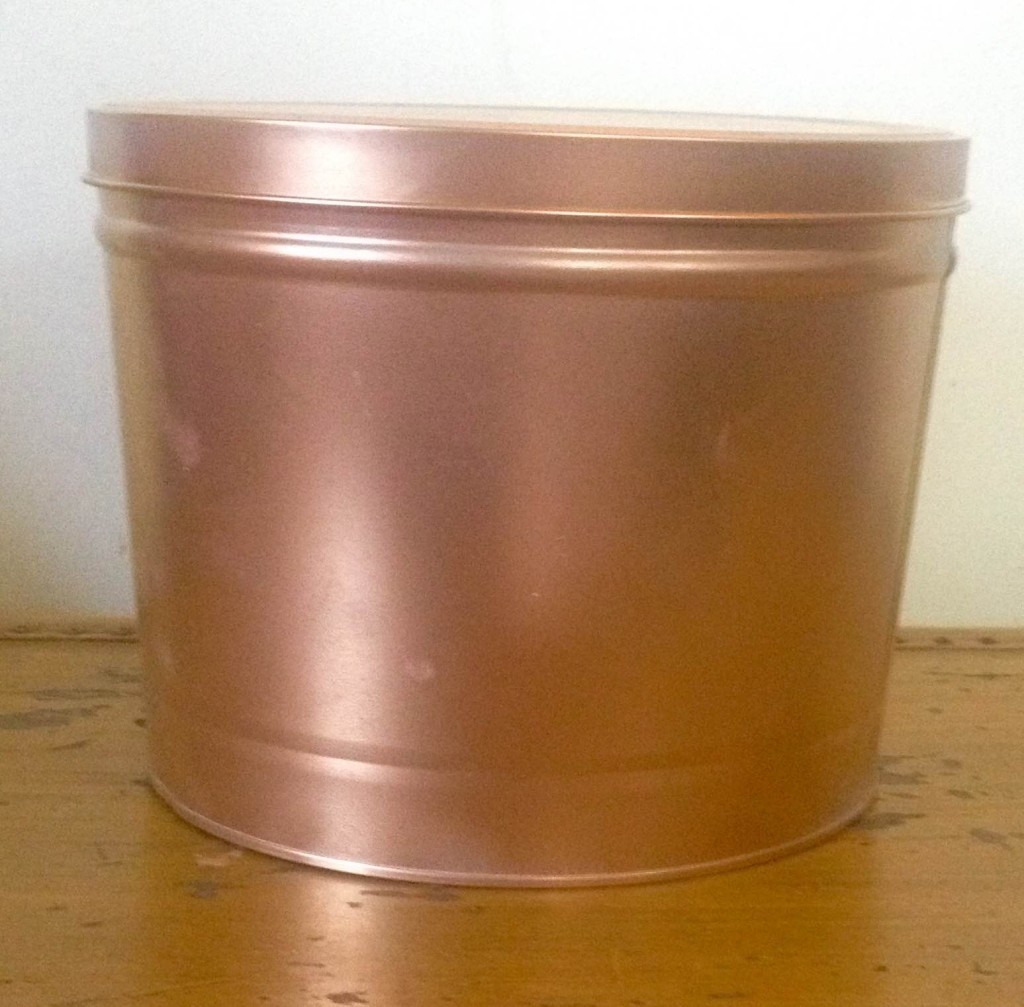
My original idea was to glue the caps and lids to the popcorn tin in swirls of color. I was then planning to grout the areas in between the caps and lids. Once I started digging around in the lids, I realized that they were quite varied in their heights, and I thought that might make grouting difficult. Instead, I decided to paint the tin and its lid with gold spray paint (I already had the spray paint, but SmArt! did have spray paint as well).
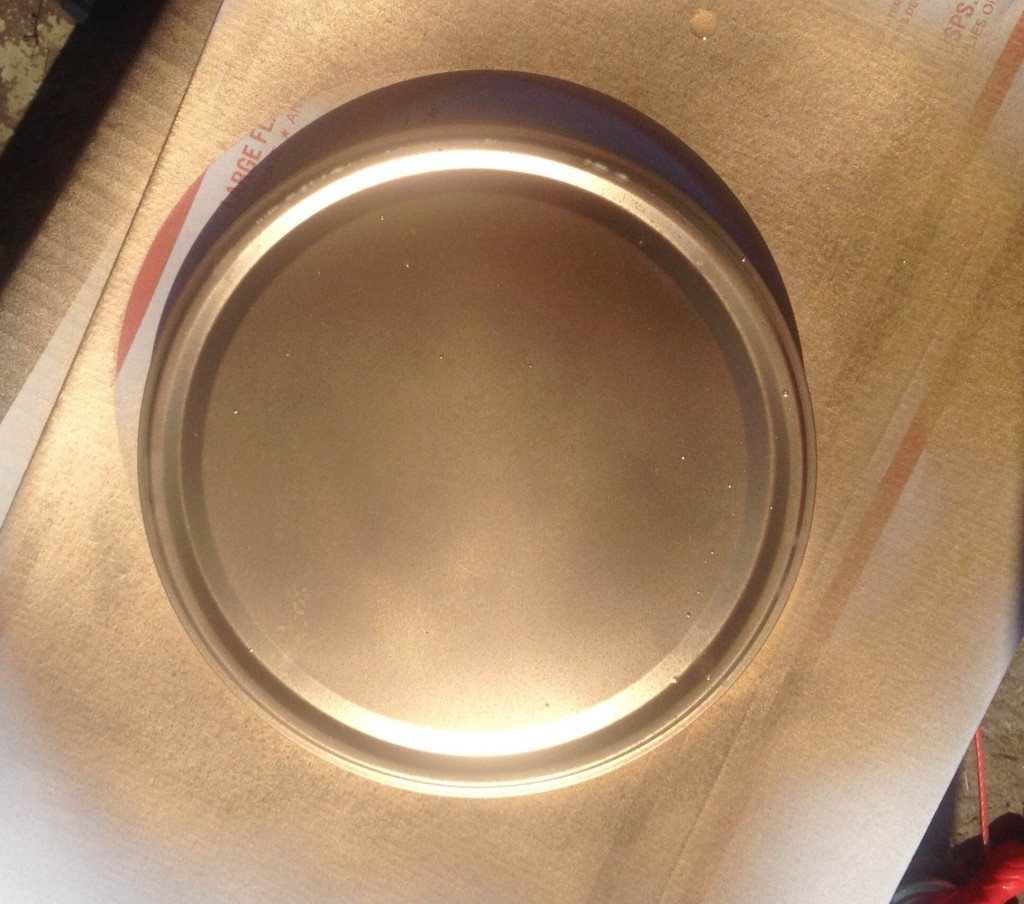
My plan was to glue the caps and lids onto the tin, and the gold spray paint would peek through in the open spaces. I bought an industrial strength glue, but I guess it wasn’t the right glue (or I should have used my hot glue gun), because the caps and lids were sliding off the tin as I glued them. I decided to just keep the tin (for now) in all its gold glory, and fill it with rainbow of caps and lids—sort of a reverse pot of gold at the end of the rainbow, if you will. My daughters loved rifling through the lids, picking favorites, and making arrangements on every surface they could find. My original plan (and my back-up plan) might have been a bust, but my end result is still eye catching and kid-approved!
I also have an idea for some artwork for a kid’s room using these caps and lids. Leave a comment if you’d like me to do that and write a post about it!
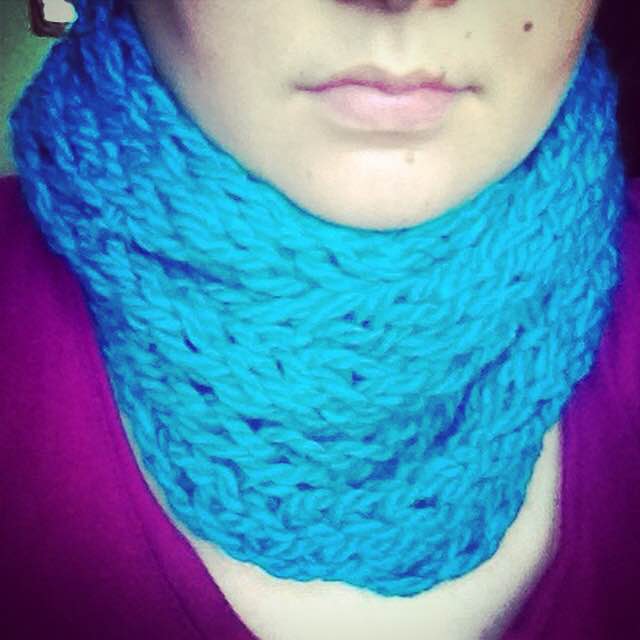
Project 2: Finger Knit Scarf
I first learned about finger weaving/knitting many years ago from my elementary school students. I’m not much of a knitter or a crocheter, but finger weaving is fun and easy for me. I can’t do the instructions justice, but click here for a great video on the process. There were beautiful skeins of yarn at SmArt!, and some were priced at just $1 per skein. My kids aren’t really into finger knitting right now, but I’m hoping they will be eventually. I worked on this while binge-watching House of Cards (after the kids had gone to bed), and it was relaxing and fast—which is my favorite kind of craft!

My original plan was to finger knit all three skeins and then arm knit the long chain I would get from finger knitting. I didn’t really care for the way the wavy skeins looked when finger knit, so I only finger knit the non-wavy blue. I then wrapped it in loops, tied it off, and made it into an infinity scarf. It’s a beautiful color and so soft. I love it!
I bought five bags of caps and lids, four loose lids, a popcorn tin, a container of grout, and three skeins of yarn, and my total was only $11.64. I made two projects that I adore, and I have supplies left over. I repurposed, recycled, and supported a good cause! I will definitely be going back to SmArt! and would highly recommend that you check it out too.


")


